New Addition to the Power Tool Arsenal, Brother PQ1500SL & Flutter Glow Quilt Sample
Yep! I have a new quilting machine! I know, some of you are like, “Yawn, what else is new?”, because I seem to collect sewing machines like some women acquire shoes. This new doll was on sale $100 off on Amazon Prime Day and I’ve been wanting one forever. Meet my new Brother PQ1500SL! Ain’t she purdy??? 🙂 Just look at those sleek lines, the minimalist gadgetry, and large harp space to accommodate bulky quilts. Ahhh, she’s like the perfect model with curves in all the right places. Simply stunning.

She is absolutely identical in every way to the Baby Lock Jane but hundreds less because she’s marketed under the Brother name. And y’all know I LOVE my Brother machines. Somebody actually said on a FB comment that Brother was the low-end of Baby Lock. Well if you’re a snob, then yes. For the identical machine, it’s like purchasing a Lincoln MKX vs. a Ford Edge (same car/company with different packaging & prices). But if you’re smart, then you know your wallet is happier to go Brother. Now you BL owners, don’t get all bent out of shape. I have a BL Ellegante 2 embroidery machine and love her, and to the poster’s credit, Brother does make very inexpensive machines that sell for less than $100 at Wal-Mart for beginners. So in that respect, the poster was correct. However, the parts and mechanics inside are identical – the cheaper machines just have less bells and whistles. Oh speaking of Baby Lock, did you see their new Solaris Embroidery Machine? $19k is what I heard my friends – for a single needle machine. Holy Moly. It should drive me to work because I can buy a car for less than that. I wonder how it compares to the Brother Dream Machine. woops! I digress…
The first thing you’ll notice about the 1500 is that it is NOT what I would call a regular domestic sewing machine. It cannot zig-zag, do button holes, do decorative stitching, or do a blind hem stitch, etc. It does straight line stitching only. So you might be thinking, “How limiting is that?” Well, this machine, much like the serger and the coverstitch machines, is designed to compliment your sewing machine arsenal, vs. replace a regular sewing machine. While it only does one thing, it does that one thing exceptionally well…much better than a regular domestic sewing machine. This machine has limited computerized functionality with only a needle up-down feature. Every other aspect of stitch length, reverse, speed, etc. is all manual. Pretty close to old school.
Let’s get into the weeds. First there is the 1/4″ line on the plate of the machine. This is extremely accurate. I kind of wish they’d put a stitch continuation line in the housing and extension table like I created with my piece of wall-tape. The first thing I noticed about this machine when sewing is that when the feed dogs pull the fabric through, they pull it through completely straight – there is no wobble at all. When you get to the end of a piece of fabric, it doesn’t pull one direction or the other. It’s a thing of beauty for quilters. And see the horizontal 1/4″ line? Perfect for seam join accuracy.

The no wobble can probably be attributed to not only the feed dogs, but also the single needle hole which you can see directly under the needle. The fabric cannot be pulled left or right by a wide set of feed dogs like on a regular sewing machine. The accuracy of the seam allowance is incredible as is the symmetry of the stitch length.

Did you notice the eye of the needle goes left to right vs. front to back? So let’s talk about the needle threader. Every review of this machine will tell you that it sucks and they are right. Totally right. Hey Brother / Baby Lock, the needle threader sucks. I’ve figured out a fairly good method of doing it because my eyes aren’t that good anymore to thread it manually, but it normally takes me a couple of tries to get it threaded. Honestly, that’s the only gripe I have with this machine. Oh that, and the thread cutter could leave more than 1/2″ of thread on the backside of the needle…which frequently comes unthreaded because it’s so stinking short and then I have to doink with the sucky needle threader again.

I mentioned old-school. This machine needs to be oiled. The last several machines I’ve purchased have not required any oiling. The gears and mechanics of today’s domestic sewing machines are made of high quality plastics and do not have the metal-on-metal parts like machines of yester year. Well this machine has metal-on-metal and it requires oiling twice a month if you sew daily like I do. I’ve already added oil to all the points shown in the manual even though it probably had it done in the factory. Doors open on the extension table and into the machine so you can get to the bobbin case.

The bobbin case and the housings are metal vs. plastic like the drop in bobbins in a regular Brother machine.

Also metal are the bobbins. This machine uses the L bobbin vs. the M that normal sewing machines use. They hold more than a regular bobbin and you can’t find them in Walmart so if you get this machine, be sure to order some from Amazon. I think this pack of 50 was like $15.

The bobbin maker is amazing. This machine can do 1,500 stitches per minute which then creates a bobbin in 23 seconds flat. Seriously. I timed it and I couldn’t believe it. The result was a perfectly wound bobbin without any hills or valleys in the wind like you get on a regular machine. My first couple of attempts (without reading the manual) didn’t work because I discovered that the groove in the metal bobbin actually snaps into place on the bobbin spindle.

If the red light is illuminated on the front of the machine then it is in needle-down position which means that the machine will always stop with the needle down. This is very handy for quilters and it acts like an extra hand to hold things in place when you get started. I will do a single stitch or two at the start of a piecing set while the needle is down, then I line everything up down to the bottom of the set (intersections, ends, etc.)

The position of the feed dogs is scalable based on the thickness of the fabric. I WILL be using this machine to sew denim jeans/shorts/capris/skirts and do topstitching on them. The fact that this machine is mostly metal means that it can handle multiple thicknesses of denim unlike my other machines. In the photo above, do you see the pink line where there is a little point that sticks up above the needle plate? That is a pin that comes up to secure everything in place for shifty fabrics like finished leather…for a new purse! Hmmm, maybe I need to review that leather purse making class I bought on Craftsy a couple of years ago. 🙂 Tandy Leather, here I come! HA!
There is a double spool stand and thread tree in the back. I prefer a vertical spool thread discharge as opposed to a horizontal. It seems to get less tangles and the tree helps to support the high speed of the machine.

Oh speaking of high speed, yesterday I accidentally pushed the presser foot down to hard and scared myself silly. My heart was racing and I had to check the tip of my index finger to make sure it wasn’t stitched into the fabric and the pain just hadn’t hit yet. It was like ZOOM!! ACK! It happened that fast. This machine will take some getting used to. Last night I literally (and I mean “literally”) whizzed through binding a quilt in half the time of what it used to take me on my regular machines. I sew a binding strip to the front of the quilt, iron the binding out flat, and then fold it over to cover the stitching line on the back and then stitch-in-the-ditch from the front. Normally I have to pin the part that is folded over so it doesn’t slide around and get missed from the top, but not this time. I was able to completely omit this step except for the corners where the miter is finicky. This quilt is a gift for my granddaughter so I can’t show the whole thing, but you can see the stich quality here on both the front and back. No STID foot required…the accuracy is THAT good and I was finished in less than an hour on this 68″ x 74″ quilt holding everything in place with just my fingers.

So in all, I’m THRILLED with this machine and the new level it has taken my quilting accuracy. Right now I’m in the home stretch of a sample quilt for my local quilt shop, Scrappy Quilter, called Flutter Glow. They are offering the purple version. The fabric is absolutely stunning!

The pattern states right up front that 1/4″ seam accuracy is a must and it’s not kidding. This thing is what I would say would be good for the intermediate quilter. Even though the pattern is based on a panel, there’s a ton of bias cuts and if you don’t have the seam allowances correct, the points won’t match up in all the parts around the panel. I’m SO happy I have this new machine to help me.

Here is the finished product!
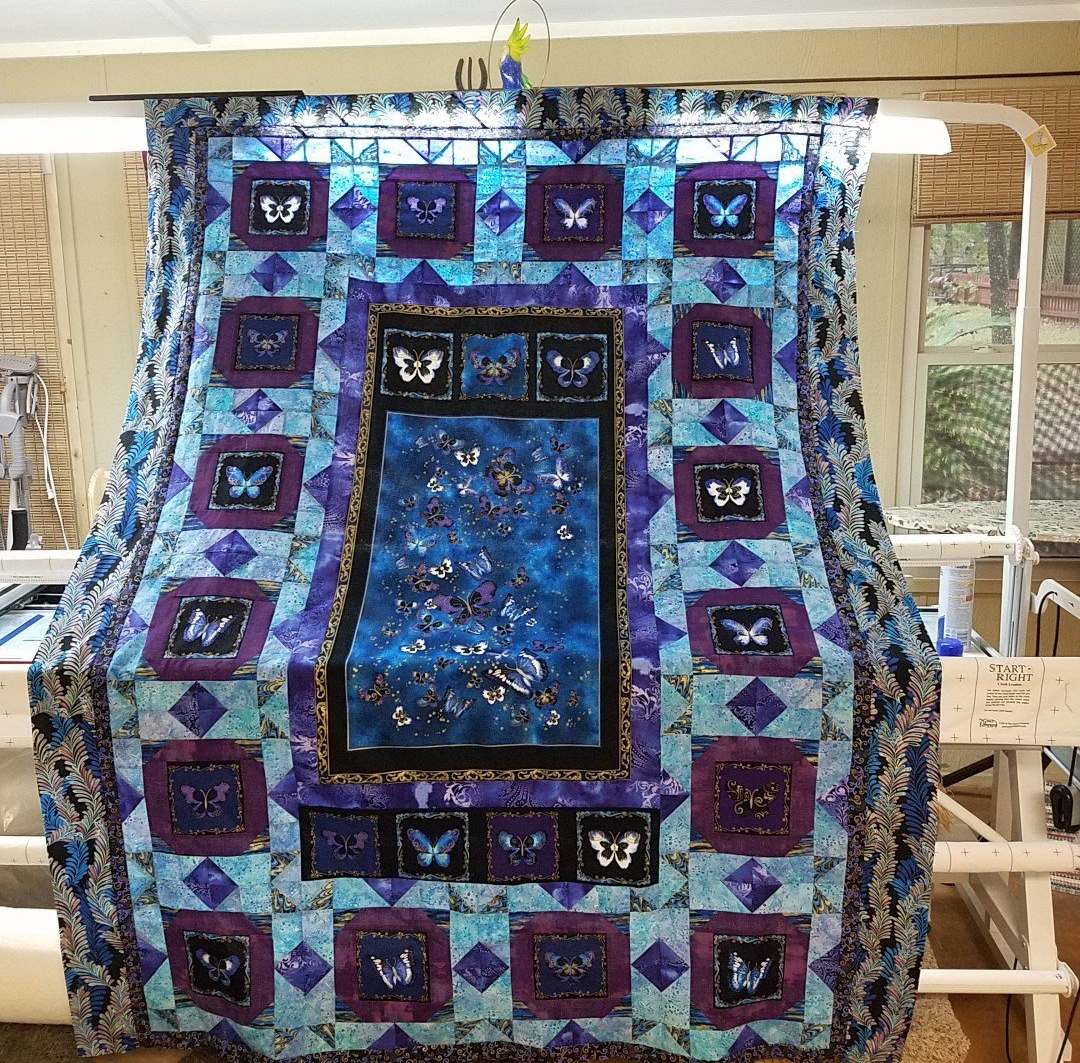
The quilt top will be hanging in the store for other quilters to purchase the kits. Isn’t that cool? I’m published! lol Honestly, my skills are diminished by the beautiful samples they have hanging in the store and I was just honored to be asked. I hope the finished product lives up to Jo’s expectations.
So that’s it! I love this new machine and I’m excited to see what we do together in the future. Have a great week!


Hi there! I’m enjoying reading your blog and watching your Vlog. You mentioned that you would be making a leather purse and implied you would be getting the leather from Tandy Leather. Where do you get it? We are originally from Yoakum, Texas (the leather capital of the world…or it used to be). So how and where do you purchase your leather from Tandy? Thanks, Texas Gal
Hi Susie! There is a Tandy Leather shop on Walzem Rd. in San Antonio. I haven’t gotten over there yet but they have an online shop as well. Yoakum? There’s a BBQ joint where the highways cross by the Valero (more of a shack) and I swear it’s the BEST chopped BBQ I’ve ever had! Great Texan customer service too. 🙂