
While we were at the coast this weekend, I was digging around in my sewing stash for one thing or another and came across a wallhanging panel called Holiday Meadow.
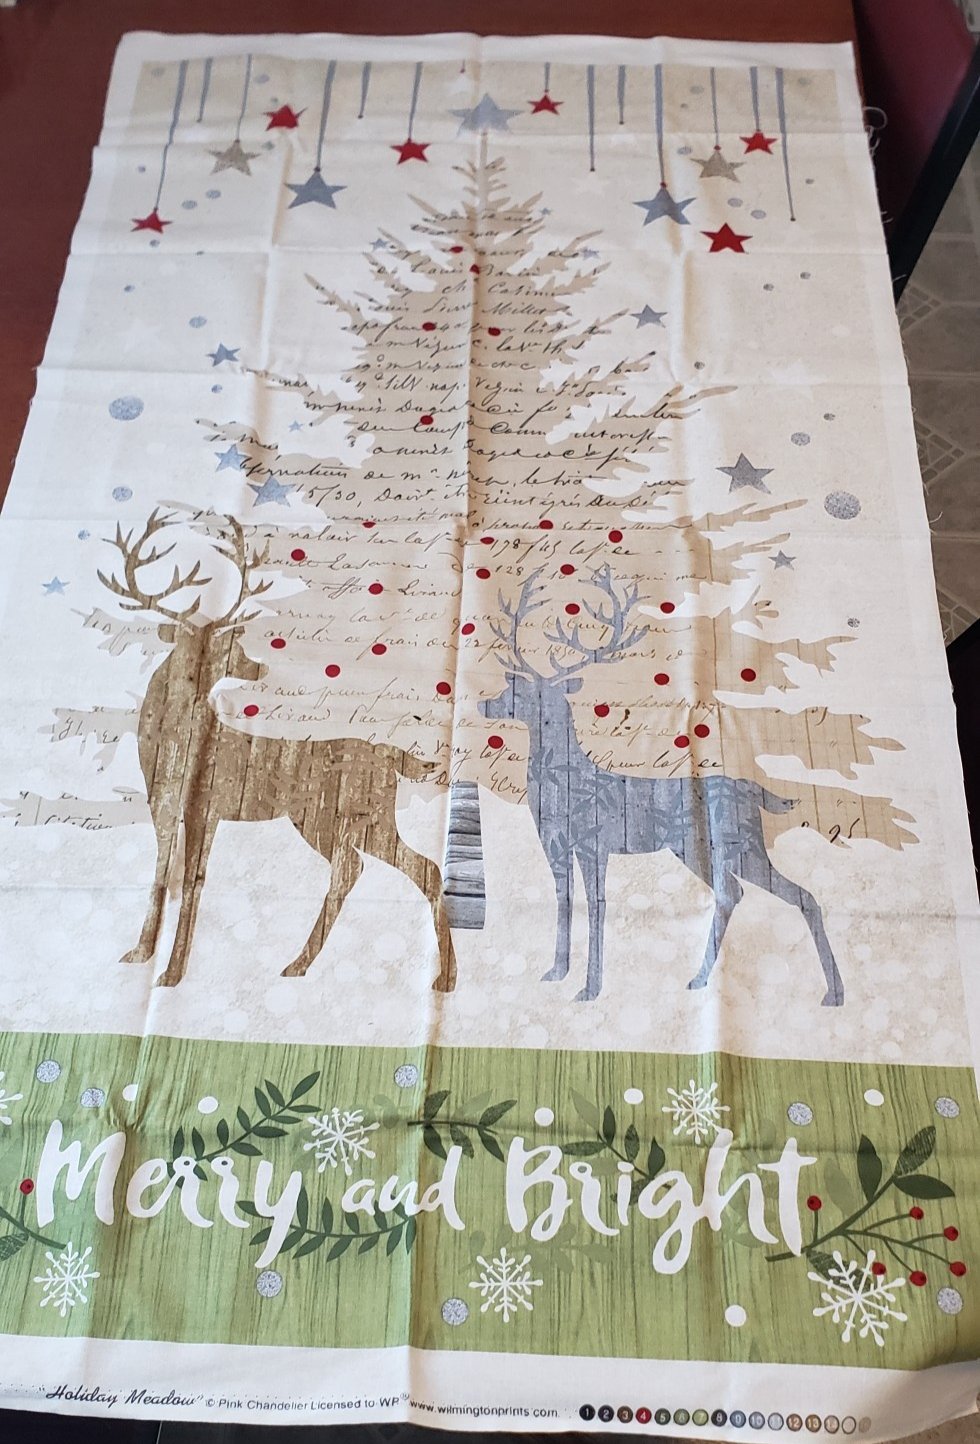

Then along with that wall hanging panel I found another matching panel for coordinating placemats. I didn’t take a before pic, but you get the idea.


The placemat panel also had bundled with it four fat quarters for backings and I looked at it and thought, “Now where did these come from?” 🙃 Honestly, I had no idea. So rather than let them languish another season, I decided to put them together.
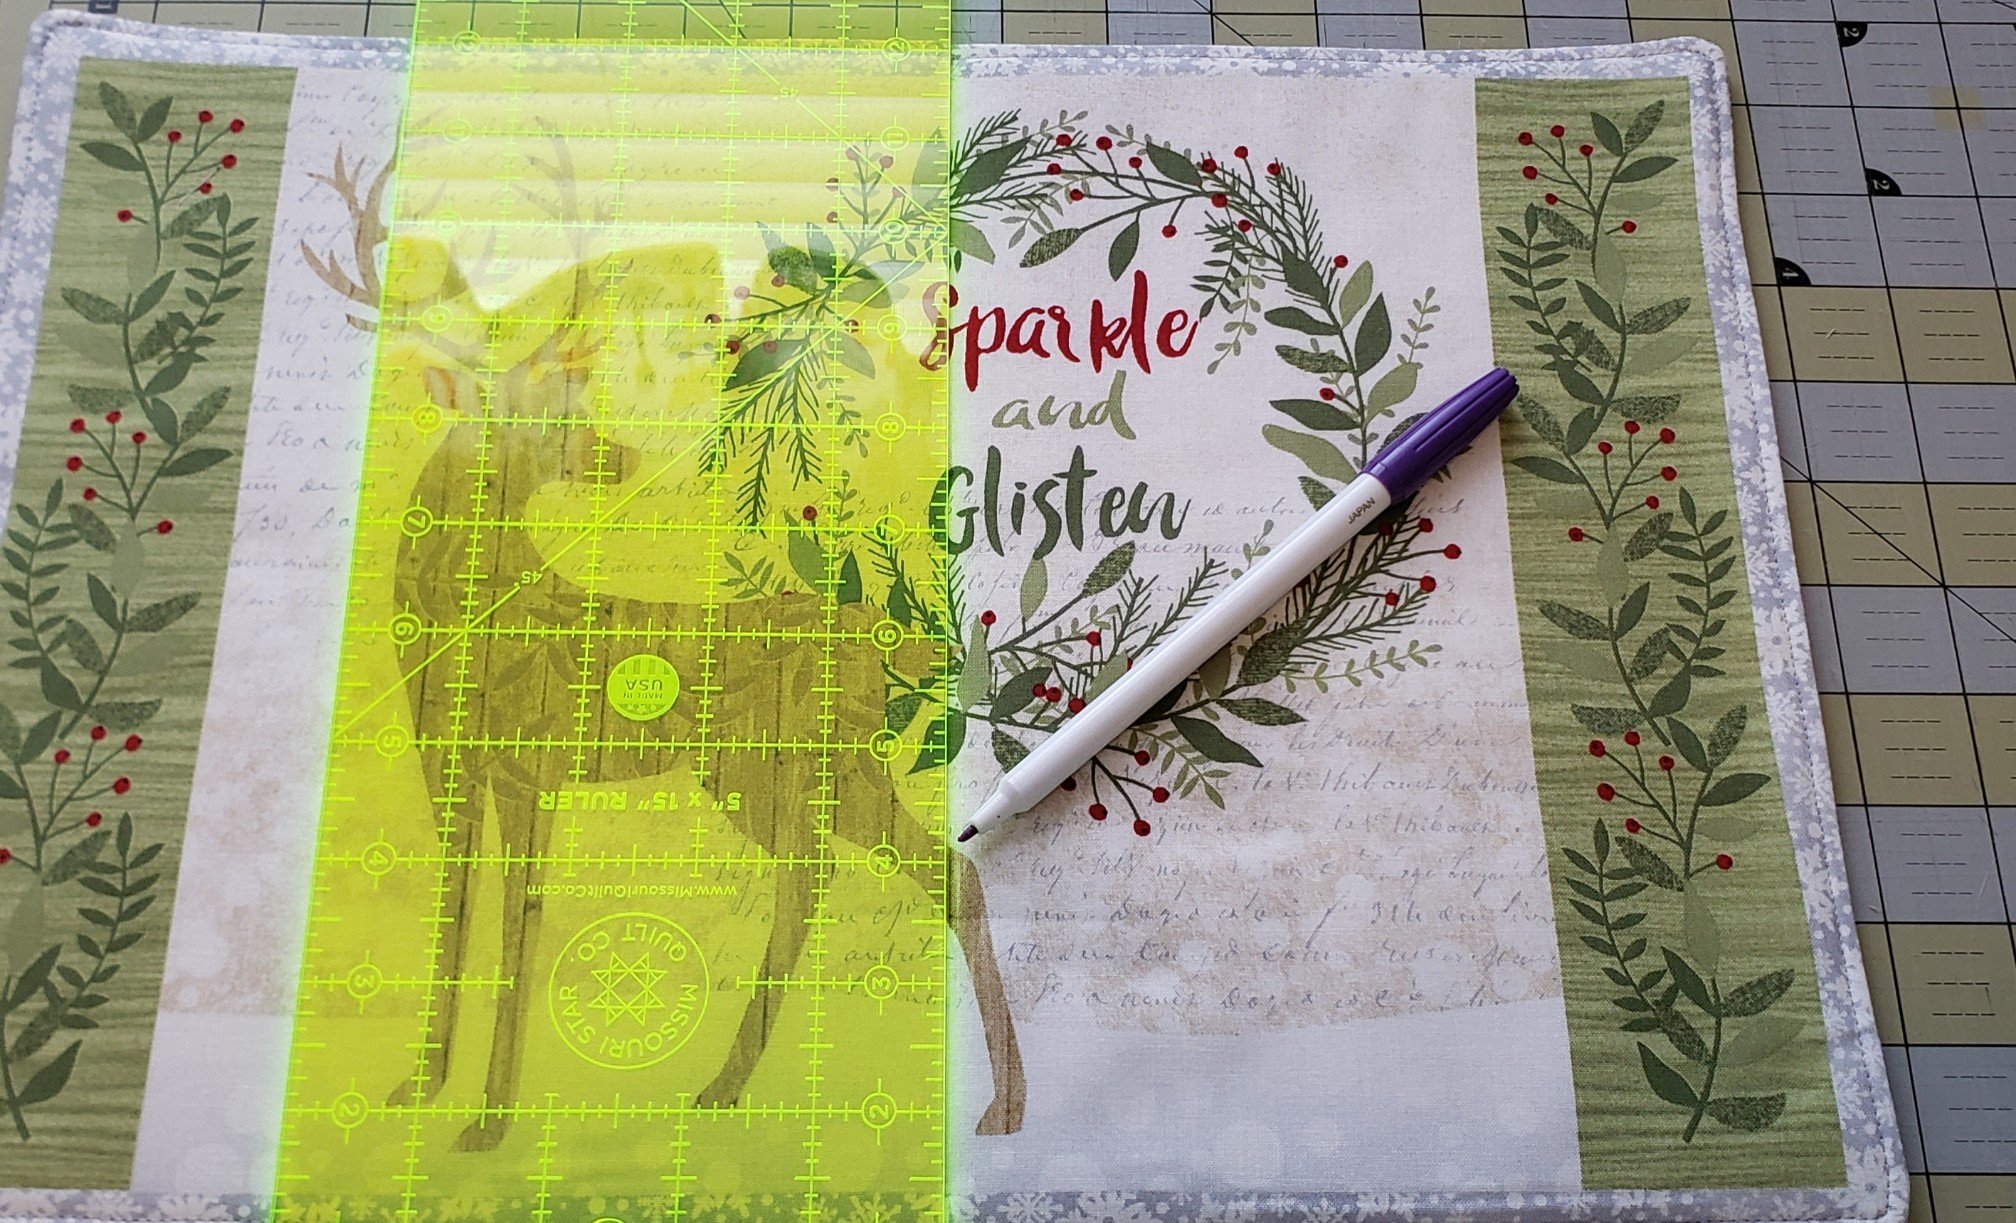
Placemats are very easy and perfect for a quick project. You simply layer batting, backing face up, and top face down. To keep the edges nice and clean, I drew a stitching line in pencil just inside the colored border.


I did a single 45 degree stitch at each corner to give the fabric somewhere to go. This is a trick I learned when making shirt collar points.

I left the opening 7″ wide as instructed on the pattern. I trimmed leaving a 1/4″ edge outside of the stitch line except at the opening which I left at 1/2″. Not pictured: I clipped the corners.

Closing the opening is easier if you iron the folded edge before turning rightside out. Here it is after turning.

I used the inside edge of the presser foot as a guide for stitching around the outer edge.

Then I marked lines with an air-erasable marker for simple straight line stitching 2″ apart to quilt the placemats.

I love how they turned out!

I’m going to look around on the internet to find coordinating fabric to make up the wall hanging.
Now is the time to whip up an easy project for the holidays! What’s under your needle?