
I decided to follow along with the @FatQuarterShop on their Sew Happy sew along.

I recently picked up a couple of FQ bundles of Lori Holt’s Stitch fabric, and thought this would be a nice, easy, and fun addition to my new sewing studio. I’m thinking about changing the orientation of the entire quilt to vertical vs. horizontal so it will hang on my sliding barn door. The jury is still out on that but I think I can center the machine under the word “Happy”. Or maybe add another star block next to the sewing machine…decisions…decisions. Don’t tell anybody, but I didn’t have the right light green for the star HSTs so I snagged a piece from a Lori Holt Prim bundle. ssshhhh Maybe the Quilt Police won’t notice.

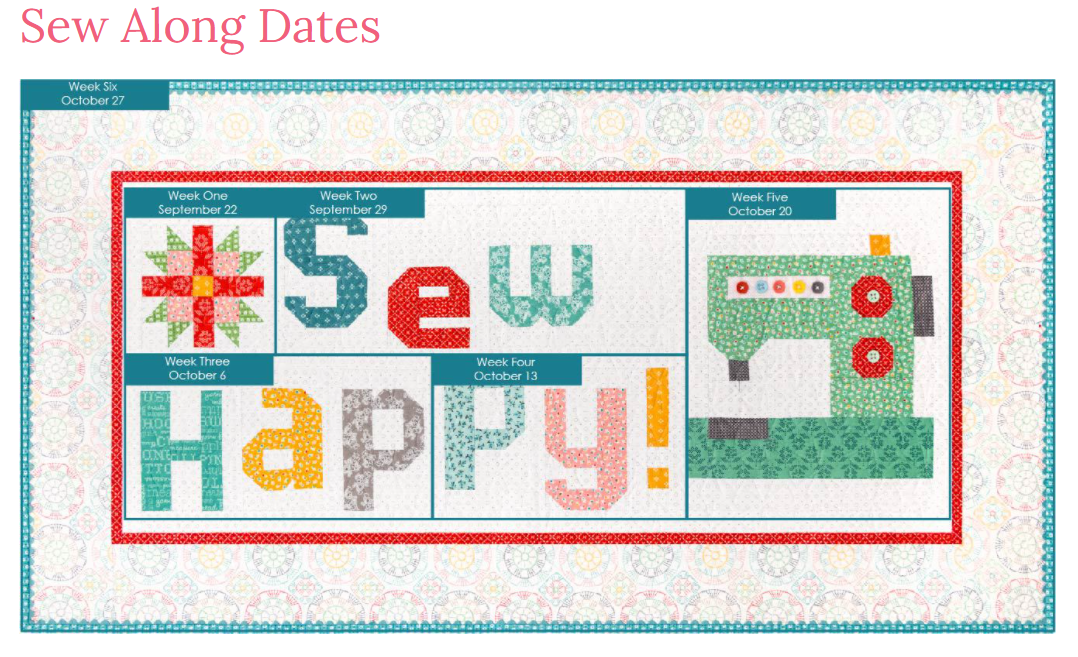
Fat Quarter Shop has broken the project into six fairly manageable weeks. Here’s the schedule. Week 1 is the Star Block.
The cutting instructions for the star and sewing pattern are on page 5 of the free pattern at FQS.
You’ll need Lori Holt’s “Spelling Bee” book in order to make the letters and the sewing machine. You can see the sewing machine up in the top corner of the image below next to the “Aa” block.

I also ordered 1.5 yds of the Cloud Crochet yardage for the outer border, .5 yard of Stitch Cottage Daisy Chain for the binding, and 1.25 yds Bee Backgrounds Pewter Stitched Circles for the block backgrounds. You’ll want the buttons for the sewing machine too.
This is a very easy block. Everything nested together nicely and I used my “landing strip” method to mark lines on the “V’s” so as not to tip the points on the green star. Before you start sewing, mark a landing strip to aim your needle directly at the point.

When drawing the line on the back of the eight 1.75″ fabric B, be sure to make a mark on the short side before removing the ruler (the piece that’s showing out from under the ruler) so that’s the corner you trim off. That technique makes all the difference in the world.

The finished block should measure 6.5″x 6.5″.

POST UPDATE: Since posting this and discussing it on my latest video, I’ve gotten a lot of comments and emails about the marking method I used above. Here are some helpful videos and the corresponding segments in them to assist and give you a visual demonstration.
There’s two parts to getting these points right.
► Start at 6:00 minutes on this video: https://youtu.be/odHRWcseLsQ
► Start at 5:36 on this video: https://youtu.be/Vwjm2K0rLVE
This was a fun way to spend the morning with a cup of coffee. I’m looking forward to next week!