DIME Stitch Lab 2018 Haul
I just took a fun little overnight road trip to The Woodlands (just north of Houston) to attend a Designs in Machine Embroidery (DIME) Stitch Lab. I’d never been to one and wanted to check it out. It was held at the Homewood Suites and that’s where I stayed the night as well. I think there were about 45 in attendance and it was sponsored by the Sewing & Vacuum Warehouse. They did a great job of hosting and feeding the herd for two days. They even took into consideration my low carb diet and had specialty meals for me. Nice huh?
The room was set up with nine sets of three 4 ft tables in U-shape groupings for 3 to sit at each table – total of up to nine folks on each table set. On each table was the brand new Brother Luminaire sewing and embroidery machine (comparable to the Baby Lock Solaris I believe). This thing is a beauty and it lights up like a runway! It has a whole host of very cool features like the ability to edit your designs right on the iPad-sized screen and project your design onto the stitching field so you know exactly where the design will go and what it will look like when it’s finished. I think it has a camera in it too so you can take a picture of what you want and it will show up on the screen so you can edit it. This thing is pretty high tech. They sold 5 or 6 of them at the event, but not to me. lol


This seminar was not a Brother demo though so we didn’t get schooled in all the cool features of the machine, but was instead an opportunity to try out all of the DIME products on the machine. They had fabric and stabilizer for us to make six projects: a dog bandana with 3-D raised foam lettering, a hot pad trivet, a giraffe Embroider Buddy, a wall hanging, a t-shirt, and a burp cloth. All things were donated to local charities and the giraffes and burp clothes went to a children’s hospital. Nice huh? 🙂 This is my table partner Terri.

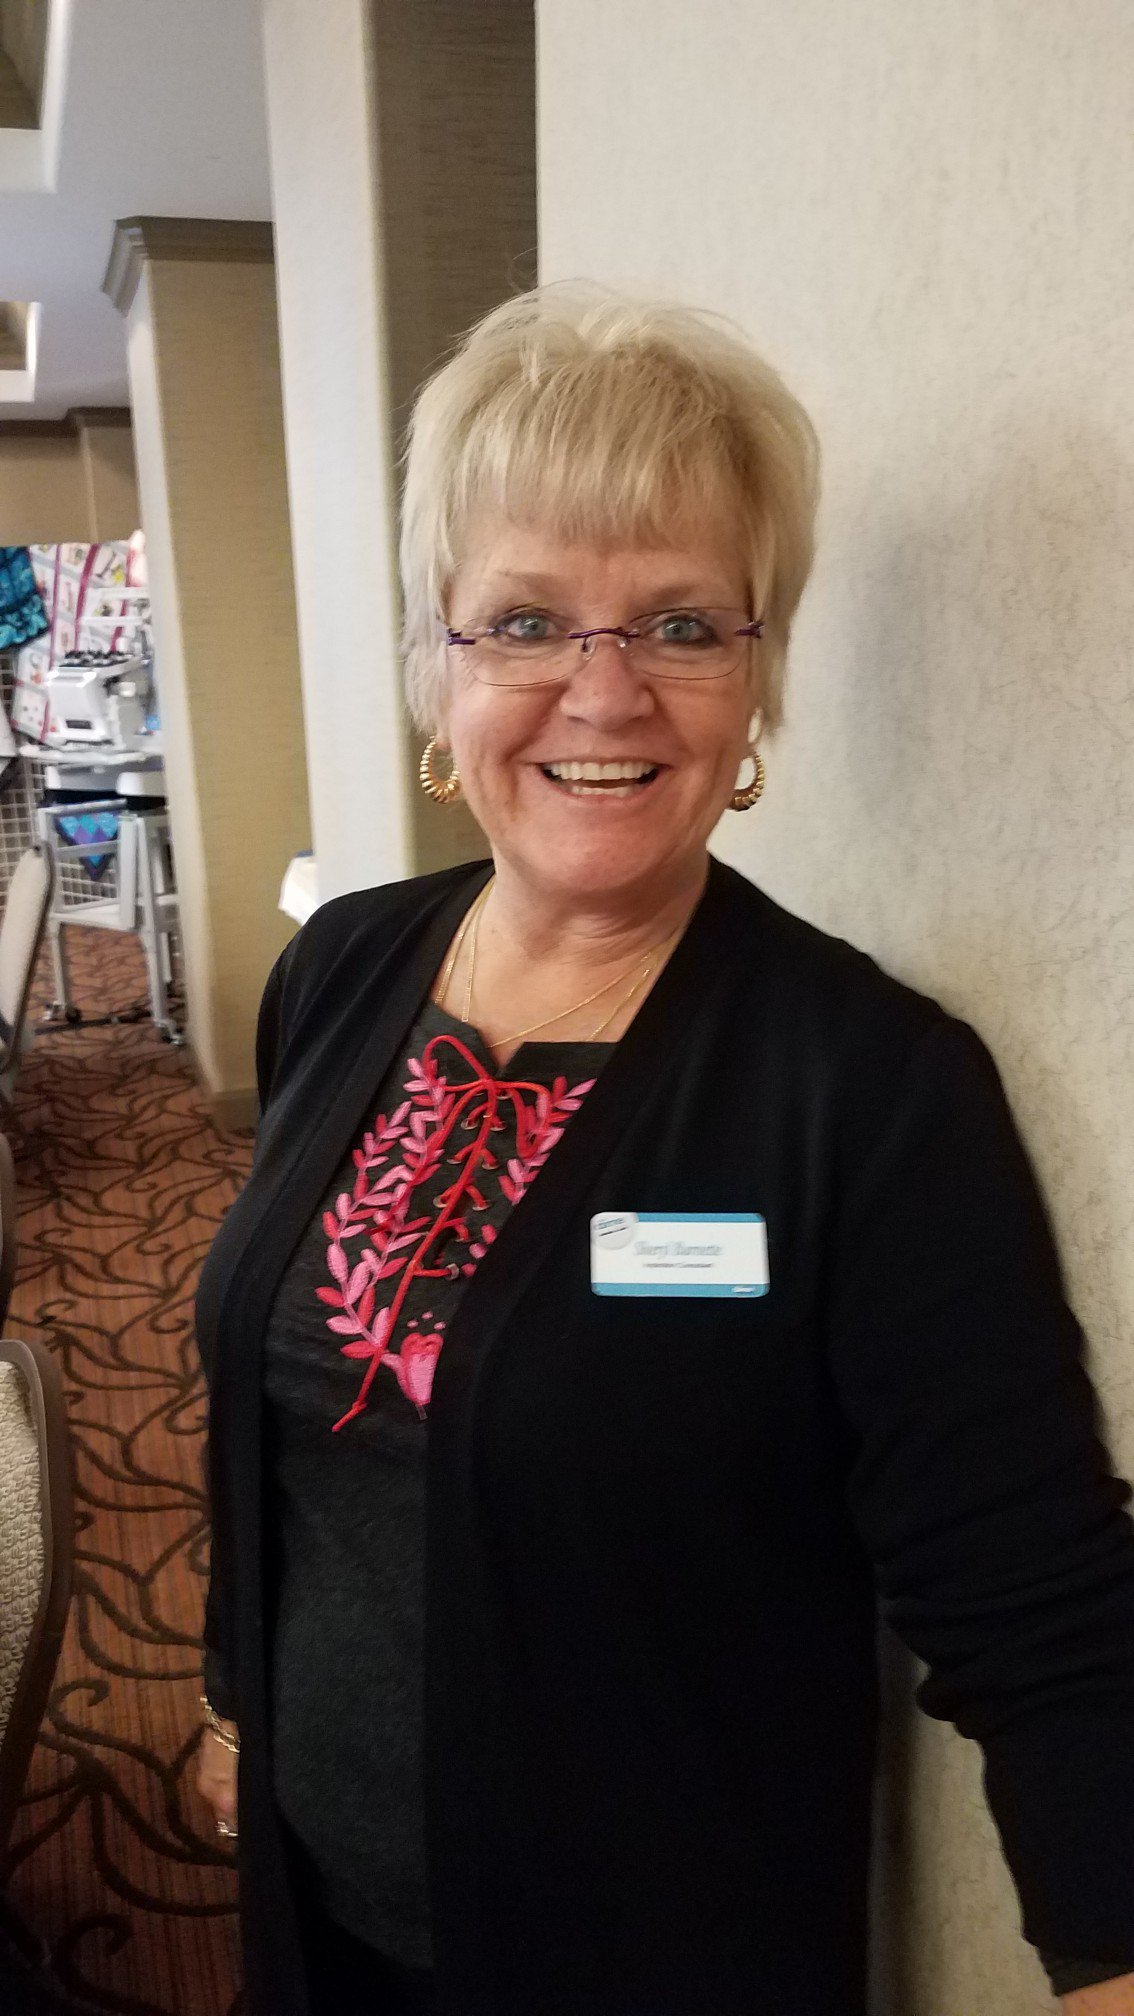
The bottom line of this event (while incredibly fun) is that it is for us to play with all the cool gizmos that DIME offers to make our embroidery journey fun and easier. After a product was demonstrated by the great instructors, they had little paddles with numbers on them for each of us and little shopping bags lined up against the back wall with our corresponding numbers from the paddles. When they were finished doing a product demo, Cheryl the head DIME Educator, would ask who wanted one and we’d all raise our paddles and she’d call out our numbers like an auctioneer. The girls in the back would stuff our bags and in the end it was like Christmas! Shopping while sitting down in front of a gorgeous toy and making friends along the way. I loved it! Here is Cheryl. She was awesome!
Note: The links to the products below are affiliate links so if you use that link to buy something, I get paid by the vendor so I can buy more stuff. Win win!
My haul included Word Art in Stitches software which I bought specifically for the 10 micro-fonts. My son is a pastor and wants me to embroider scripture on small items and you simply can’t do that with regular software when the smallest font size is 1/2″. It also digitizes for the puffy letters that is so popular now on ball caps. This software can be used for any brand embroidery machine and comes with over 140 fonts. The demo was amazing. Most of my embroidery includes lettering so this is well worth the expense to me. I’ll also use it to embroider on quilt backings vs. hand stitching on a separate quilt label.

I also picked up Perfect Stitch Viewer which allows you to see a preview of your design on your laptop in the file library so know what the heck it is you’re looking at. When you download design files from any online vendor, it comes with a file name like UT123456 and what the heck is that? You can’t open it to see without opening your design software and pulling the file in. Even if you re-name the file to say like “Snowman”, do you know how many snowman files I have? Scads! I have the Embrilliance version of this and it works great, but while I can see the preview of the .pes files, I can’t see the preview of the .jef files for the new 7 needle Janome machine we have (I’m not sure why – probably operator error). AND this software allows me to see a preview of long arm files! YAY! That’s what really sold me on this version. Worth every penny.

Next is the Bird’s Nest tool. How this works is when you have a bird’s nest, rather than attempt to remove the hoop – with the nest refusing to let go – and doink up your machine’s timing while you’re at it, you use this long hook to reach under the hoop and lift the stabilizer away from the machine. Then use the long blade to get under there and slice the nesty threads. Then you can remove the hoop safely and clean it up. It comes in a handy zipper case with an extra blade and blade cover. Of course, I’ve never had a bird’s nest happen to me so I don’t know why I bought it. HA! I wish! Plus, it doubles as a weapon if needed or I can remove my appendix. Money.

I’ve wanted these little Hoop Guards for a while. Have you ever embroidered a newborn Onesie? Absolute miserable experience. Nuff said.

I’ve looked around for an off-brand version of this Print & Stick Target Paper and haven’t found it. This makes life so much easier when hooping. I usually print out my design on regular paper and then pin or use spray adhesive to adhere it to the item I’m hooping. That method has a success factor of like 50% or less for me on hard-to-hoop items because inevitably, the paper comes off or I poke myself. The tack on this paper is great and it doesn’t leave any residue when you lift it off. They call it paper but it’s really like a lightweight sticky interfacing that bends along with the item it is stuck to and seriously stays put. You can use the printed paper many times over and over (that’s redundant I know but it’s important so I’m leaving it). You print your design on this paper using your regular printer, cut it out and then stick it to your item and hoop your item as usual. Since the paper is stuck firmly to the item, you can be exactly sure you’ve centered your design where you want it in the hoop. This is especially helpful for big designs that require multiple hoopings like up the leg of a pair of jeans. Then you load your hoop into the machine, make sure your needle is coming down exactly on center and remove the sticky paper. Playing with this stuff at the seminar, I really found the value in it for me.

And last but not least, is the Unicorn Embroider Buddy. Isn’t she cute? They had a wall full of these cute cuddly creatures of all kinds, but there was only one unicorn. I saw her early on the first day and I went to the back of the room and asked the lady to put her in my bag right away. I knew she’d be gone in an instant. You can remove the insides from these creatures and then hoop their belly in a 4×4 hoop for any design you like. On the 2nd day when I was waiting in line to check out, one lady came up to me and asked me if I’d be willing to part with it. Was she serious?? Fat chance! She said that the shop could order her one and she hoped that it would come in by the time she went to Ft Worth to see her granddaughter because her granddaughter just LOVES unicorns. Well what granddaughter doesn’t? I’ve got one too ya’ know? You think I’m buying this for myself? Sheesh! You snooze you lose sister! I asked if she lived nearby and she said yes. I said I well I don’t so I’d have to pay shipping if I didn’t get it now. So she says, “Oh well OK, you should keep it then.” HA! Well gee, thanks! Like it was ever an option that she was going to get this unicorn from me. I was bigger than her so I’m sure I could take her but you never know about those ladies.

Because my purchase was over $250 I got a free font. That was nice I suppose. Not sure when I’ll use it but hey, it was free!

So that’s it! I left a little early to start the 3-hour drive home. I really had a great time!